Aim, don't just block
Brick Breaker comes from one of the oldest ideas in video games: a paddle, a ball and a wall to knock down. The first skill everyone learns is keeping the ball alive. The skill that wins levels is aiming it.
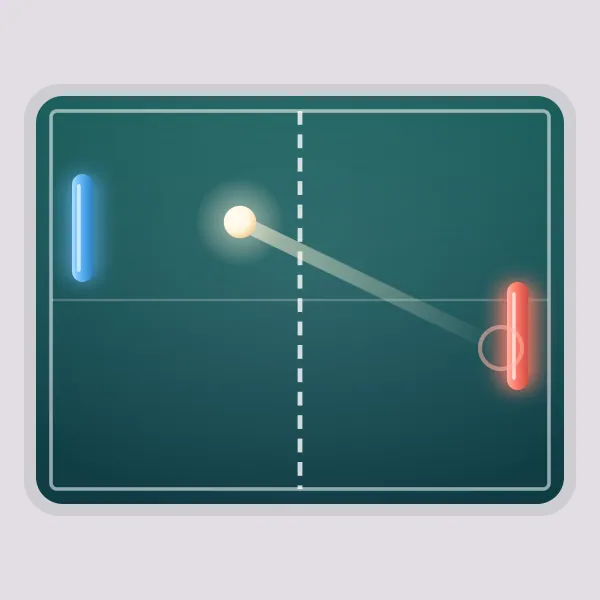
Here, where the ball meets the paddle decides where it goes. A hit near the centre sends it almost straight up. A hit near either end sends it out at a steep angle, up to 65 degrees from straight up. The paddle's speed doesn't matter, only the contact point. Once that clicks, the paddle stops being a wall and becomes a way to point the ball.
Open a tunnel and let the ball work
The most useful technique is getting the ball above the wall. The bricks don't reach the ceiling. There's a strip of open space above the top row. If you break a gap through to that strip, the ball can slip through and bounce between the ceiling and the top of the wall, clearing bricks from above with no help from you.
To dig a tunnel:
- Pick a side. Columns near the walls are easiest, because the side wall helps steer the ball back into the same channel.
- Hit the same spot again and again. Catch the ball near the same end of the paddle each time, so it climbs along a similar line and keeps chipping at one column.
- Be ready when it comes back down. A ball returning from above can drop at an odd angle. Move back toward the middle while it's up there.
Here's how it plays on the first level, a full wall of five rows. Say you want a tunnel on the left. Stand so the ball hits the left part of your paddle. It flies up and left, breaks a brick in the left columns, and comes back. Do this about five times and you've cut through all five rows. On the next hit up that line, the ball passes the gap and rattles along the top of the wall, knocking out a dozen bricks before it falls back. Each brick is 10 points, so one good tunnel can be worth more than a minute of careful returns.
Steel bricks and later layouts
From the third level, silver steel bricks start to appear. The first hit only cracks them. The second breaks them for 20 points. A steel brick in the path of your tunnel costs an extra hit, so look for a column with less steel. On the checker layout, the top row is all steel, so a tunnel there needs one extra hit before the ball breaks through.
There are twelve layouts in all, from the full wall through stripes, a checker, a pyramid and a diamond, and then they repeat. Later layouts have fewer bricks with more holes between them, which means more natural tunnels but also more odd bounces. Each cleared level adds a 100-point bonus and makes the ball a little faster.
Mistakes that cost lives
- Chasing the ball at the last moment. Watch where the ball will come down, not where it is now. Move early and wait for it.
- Always hitting the centre. It's the safest catch, but it sends the ball straight up and back down the same line, so it clears little.
- Over-steering on the edge. The tip of the paddle gives the sharpest angle, but miss by a hair and you lose a life. Aim a little inside the end.
Practise with the settings
Difficulty sets the paddle width, the ball speed and your lives. Easy gives a wide paddle, a gentle ball and four lives. Medium has three lives, and Hard narrows the paddle, speeds up the ball and leaves you two.
The settings sheet lets you tune each part on its own, which is useful for practice. Try the Chill preset to learn aiming at a slow pace. Or keep the speed normal and set a starting level, so you can drill a layout that keeps beating you without playing through the early ones first. When the edges of the paddle feel natural, move to Speedrun, which gives you one life and a fast ball. If you'd like the same paddle skills against a live opponent, Paddle Ball is a match against the computer.